AXON | ARTICLES |
MISC |
CONTACT |
|---|
Vim (Vi IMproved) is a powerful, cross-platform, free and open-source text editor, based on Vi.
It was initially based off Stevie (ST Editor for VI Enthusiasts) for Atari ST computers, and its first version was released in 1991 by Bram Moolenaar.
Ever since then, it's been ported to a plethora of different platforms and Operating Systems, and is considered an excellent and heavily customisable development environment even by modern standards.
It's immense popularity has left a permanent mark on computer software, with many programs having Vim-esque keybindings, layouts and colorschemes.
Apart from this, it competes very well against much heavier alternatives, like Emacs and VScode, Making it quite important for you to know your way around this wonderful piece of software.
Installing Vim is easy. Just head over to vim.org and download Vim for your platform.
Alternatively, you can compile Vim from source. Refer to Vim's Git Repository and the quick walkthrough on compiling it here.
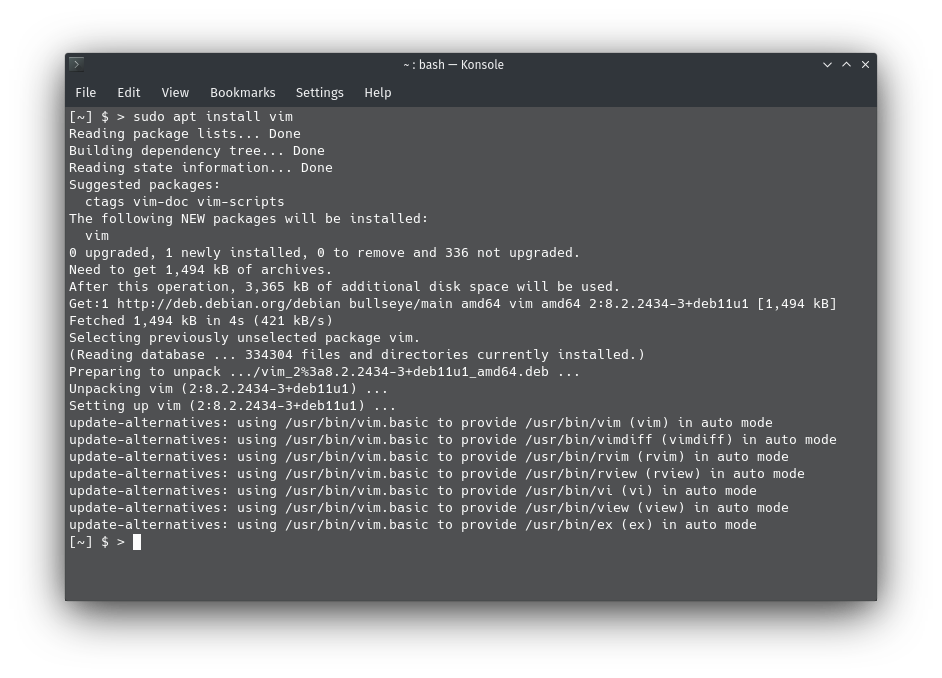
Most GNU/Linux distributions, Like Debian/Ubuntu/Kali/Arch/Fedora etc. have a prebuilt binary available for installation through the system's package manager.
For instance, on Debian/Debian-based distributions, running "apt install vim" does the trick. (You will need superuser privileges to use APT)
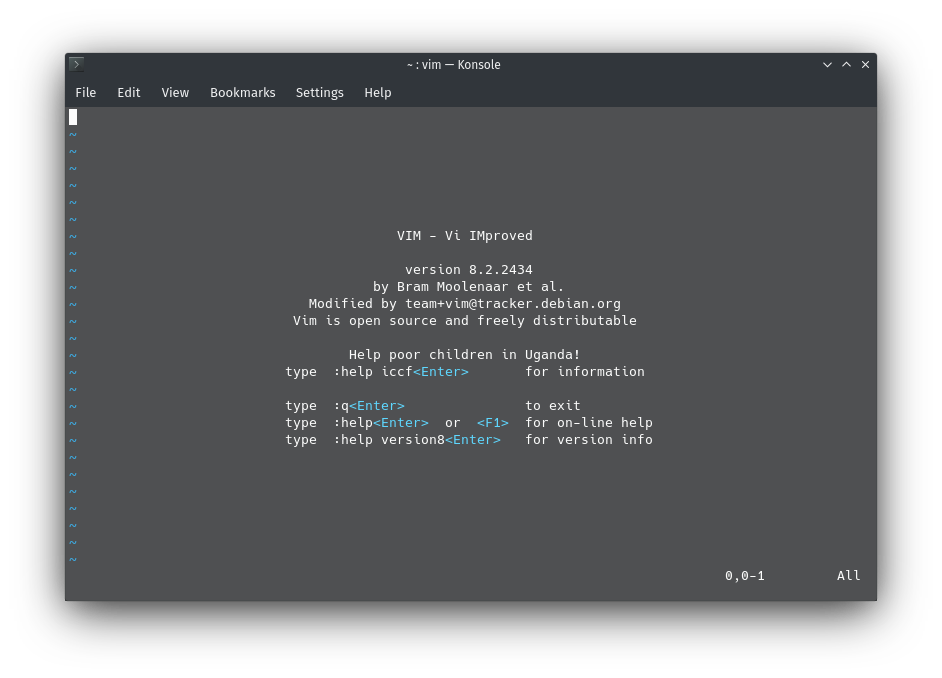
And to execute vim, Just type "vim" in the console.
Another cool feature of Vim is that it can EITHER run as a full GUI application (GVim) OR in a Terminal, as shown in the above picture.
This makes it very useful in certain situations, Eg. Say your X-server in Linux/BSD won't work because of a broken configuration file and you can't access a GUI to fix it,
You can easily edit the offending configuration file with Vim from one of the TTYs and fix the problem.
Vim's keybindings, despite being popular with developers, are not quite conventional.
A common problem I have seen first-time Vim users run into that most of them can't even figure out how to EXIT out of Vim.
(I, the writer, am one of many who have ended up rebooting their computers because of my inability to close the program.)
However, once you get used to it, You'll find it's very VERY fast to perform any function.
Listed below are the most basic keybindings, which are the bare minimum you need to know to use Vim.
To perform any of these functions, hit Escape until you are in "Normal Mode", Then hit the colon key (:).
You should now see the cursor move to the bottom left of the screen, in front of a colon. This means Vim is ready to accept a command.
(Note: The commands listed here have a colon in front of them, This does NOT mean adding a second colon. Also the commands are CaSe-SeNsItIvE!)
| :q | Exit Vim |
| :q! | Force Quit (Or Quit without saving) |
| :w | Write (Save to File) |
| :wq! | Write-Quit (Save to File then immediately exit Vim) |
| :o | Open File |
Now that the very basic commands are taken care of, here's how you actually edit or write text:
From this point, do not use a colon first unless specified. These are typed directly. Just make sure you are in Normal Mode by hitting the Escape key a few times.
| i | Insert Mode |
| x | Delete selected character |
| a | Append Mode |
| v | Visual Mode |
Insert mode is your general text editing mode, the only mode most people will ever need. It lets you add, delete or edit text and change lines with Enter.
To exit out of Insert mode (Or any other mode for that matter), Just press Escape until you're in Normal mode.
For quick deletion, x just deletes whatever character is under the cursor at that moment. Note that this is not a mode, It's basically a shortcut.
Append Mode places the cursor right after the character under cursor and allows you to add text there.
These two functions can be performed in Insert mode too, but it's a much faster way to edit text and saves on a few keystrokes.
Visual Mode is a "highlighter" mode, useful for selection and copy/paste jobs.
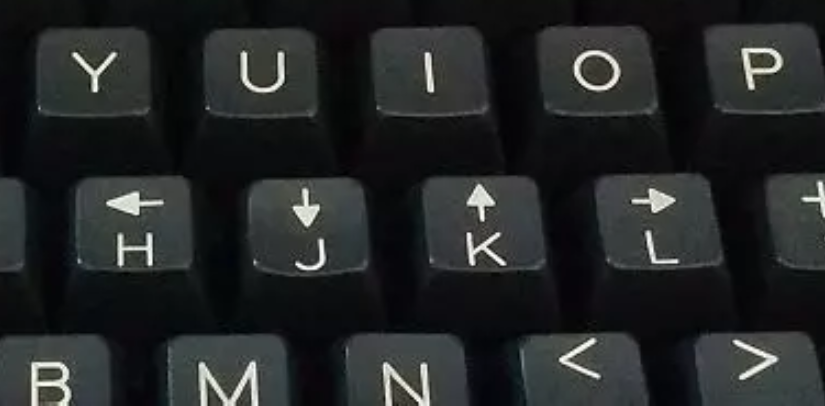
To navigate in the text, We first go into Normal mode, then use the Arrow keys, or alternatively, The H,J,K and L keys.
h - LEFT
j - DOWN
k - UP
l - RIGHT
Why HJKL was used for navigation is because when Bill Joy first wrote vi, He was working on an ADM-3A Terminal,
Which had navigation arrows on HJKL, And it's stuck since then. This binding is used in many other programs too.
That, more or less, concludes the dead basics of Vim.
For a more detailed guide, run vimtutor, an interactive tutorial for Vim that lasts about thirty minutes.
It goes pretty deep into shortcuts, motion counts, operators and other stuff. That's how I learned Vim, it's quite thorough.

Bear in mind that most Vim commands are shortcuts that save a few seconds. There's no need to memorise ALL of them.
Also another thing I've noticed is that you end up picking up a lot of stuff by just using it for some time.
Listed ahead are other keybindings that you may find useful later.
| dw | Deletes the full word under the cursor. | |
| d*w | Deletes * words after the cursor. (This is a motion count, works for some other commands too.) | |
| d$ | Delete text from the cursor to the end of the line. | |
| dd | Deletes the entire line the cursor is in. | |
| u | Undo. Reverts the changes made by the last run command. | |
| U | Reverts all the changes made on a line. | |
| p | Put. Places a deleted character/string after the cursor. | |
| r* | Replace. Replaces the character the cursor is on with * | |
| R | Replace Multiple/Overtype. Replace mode types over existing text. Exit this mode with the Escape key. | |
| ce | Change function. Deletes characters of the word under the cursor that occur after the cursor and puts you in insert mode to make changes. | |
| /* | Searches for a string * ahead of the cursor. Type n to search for the next occurrence, N for the previous occurrence. | |
| y | Yank, i.e. Copy. Can be used with word/line operators or with visual mode. p pastes it. |
That's more or less it. You should now be able to use Vim comfortably.
Enjoy!